Before you can send an invoice, you need at least one customer in ATB Invoicing. This article walks you through adding one.
Step 1: Open the new customer form
From the sidebar, click Customers and then Add customer in the top right.
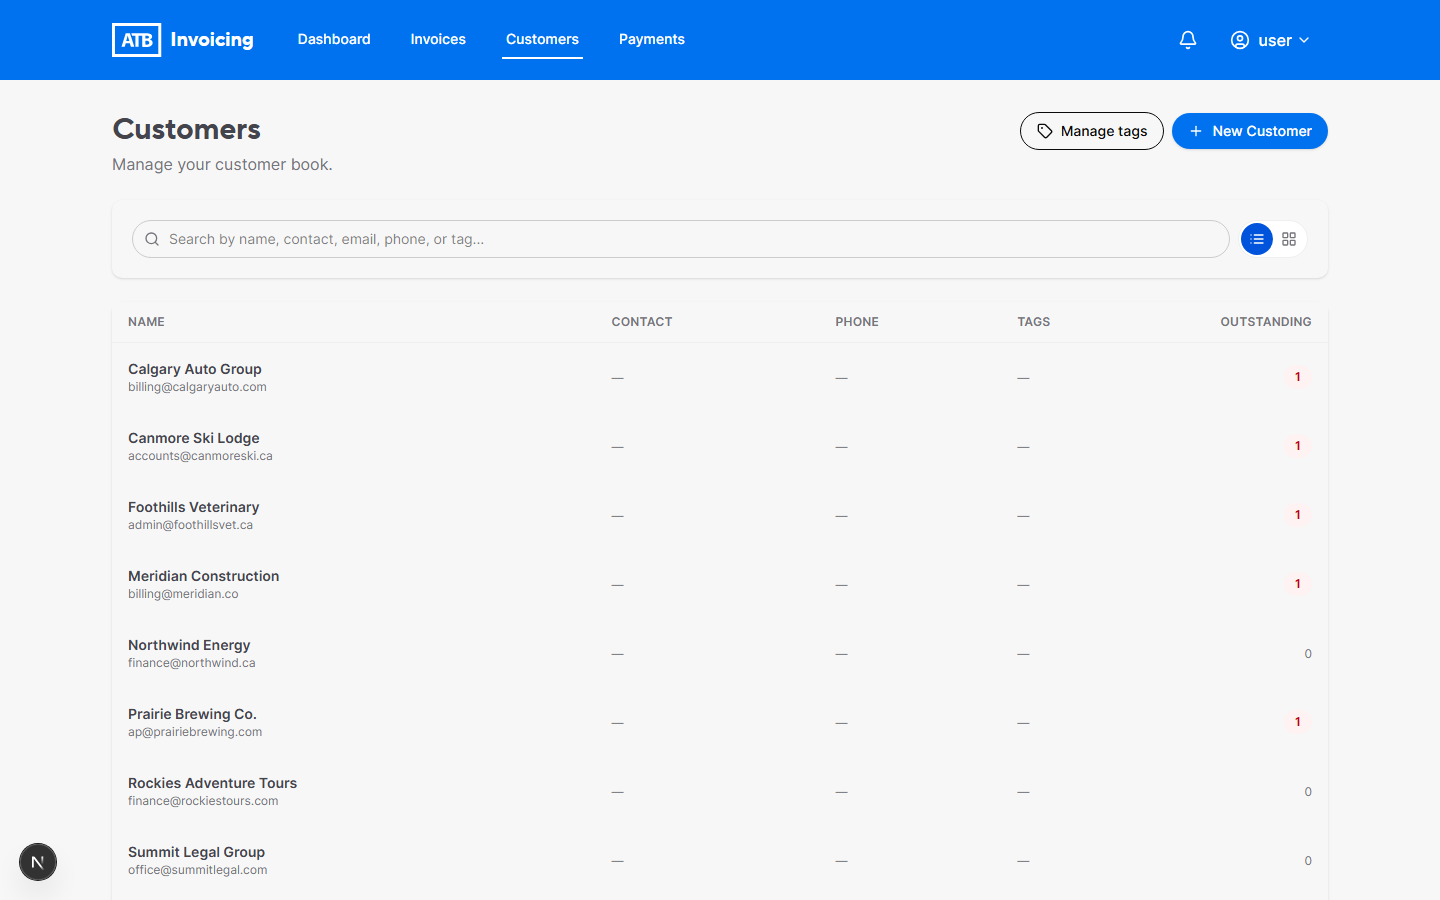
Step 2: Enter the customer's name
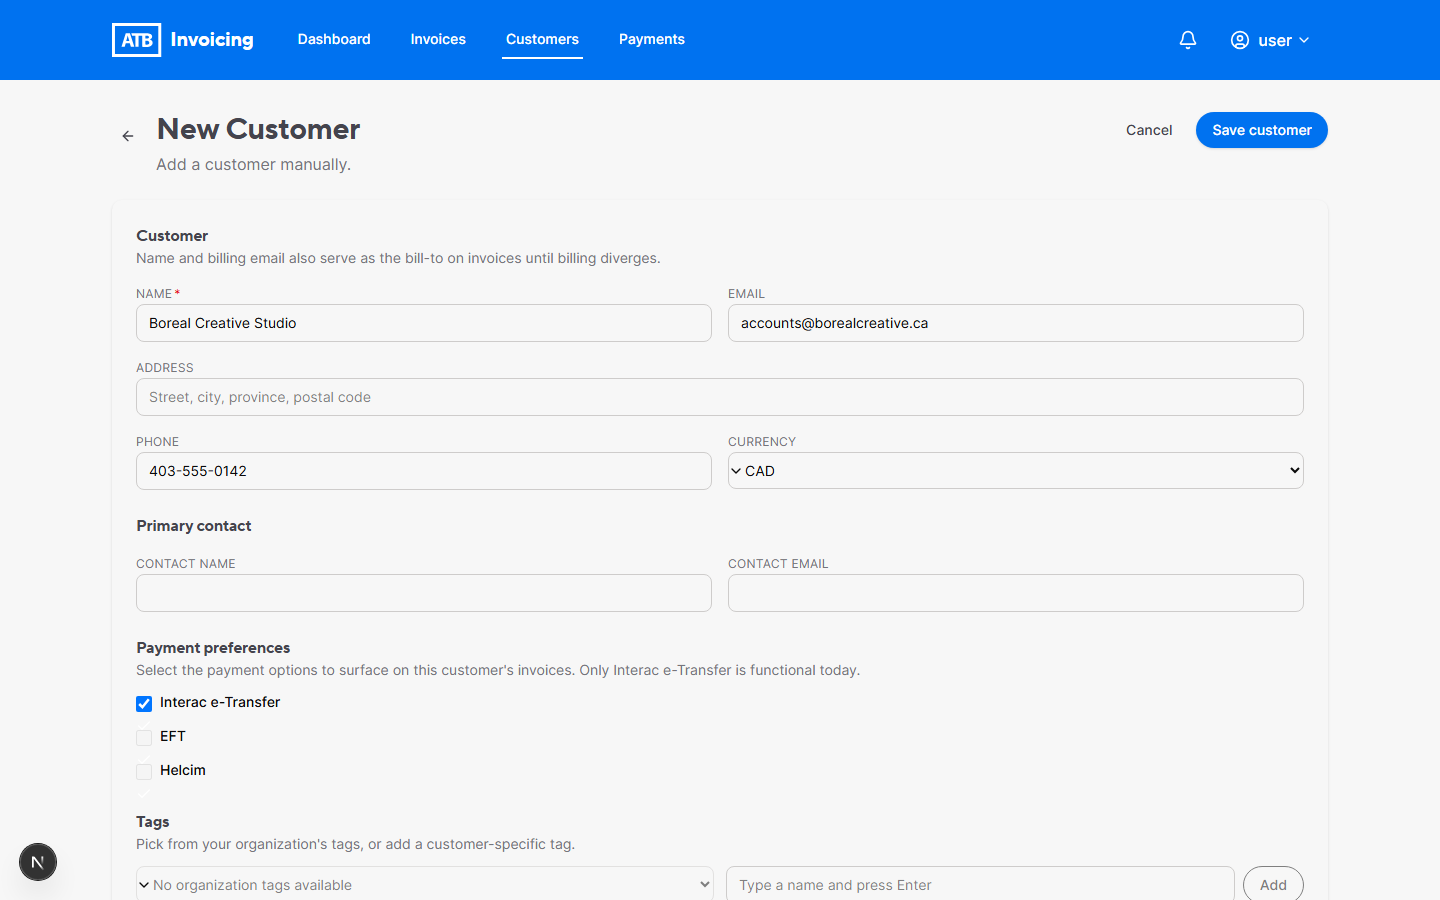
The Name field is the only mandatory field. Enter the business name or individual name you invoice.
Step 3: Add contact details
Fill in as many of these as you have — all are optional, but you need at least an Email if you want to send this customer an Interac e-Transfer:
- Email — where invoice emails will be delivered
- Phone
- Address
Step 4: Choose preferred payment methods
Under Preferred payment methods, tick Interac e-Transfer if this customer will pay you by Interac.
Tip. You can change payment methods later. Ticking Interac here is a default suggestion — you still confirm the payment method on each invoice you send.
Step 5: (Optional) Add tags
Tags are labels you can attach to customers to group them (for example, local, wholesale, on-hold). Type a tag and press Enter to add it, or pick from your organization's existing tags in the dropdown.
Tags are shared across your whole organization. See Organize customers with tags for more.
Step 6: Save
Click Save customer. Your customer appears in the list and can now be used on invoices.
Common issues
"A customer with this email already exists."
An email must be unique within your organization. Either open the existing customer to update them, or use a different email.